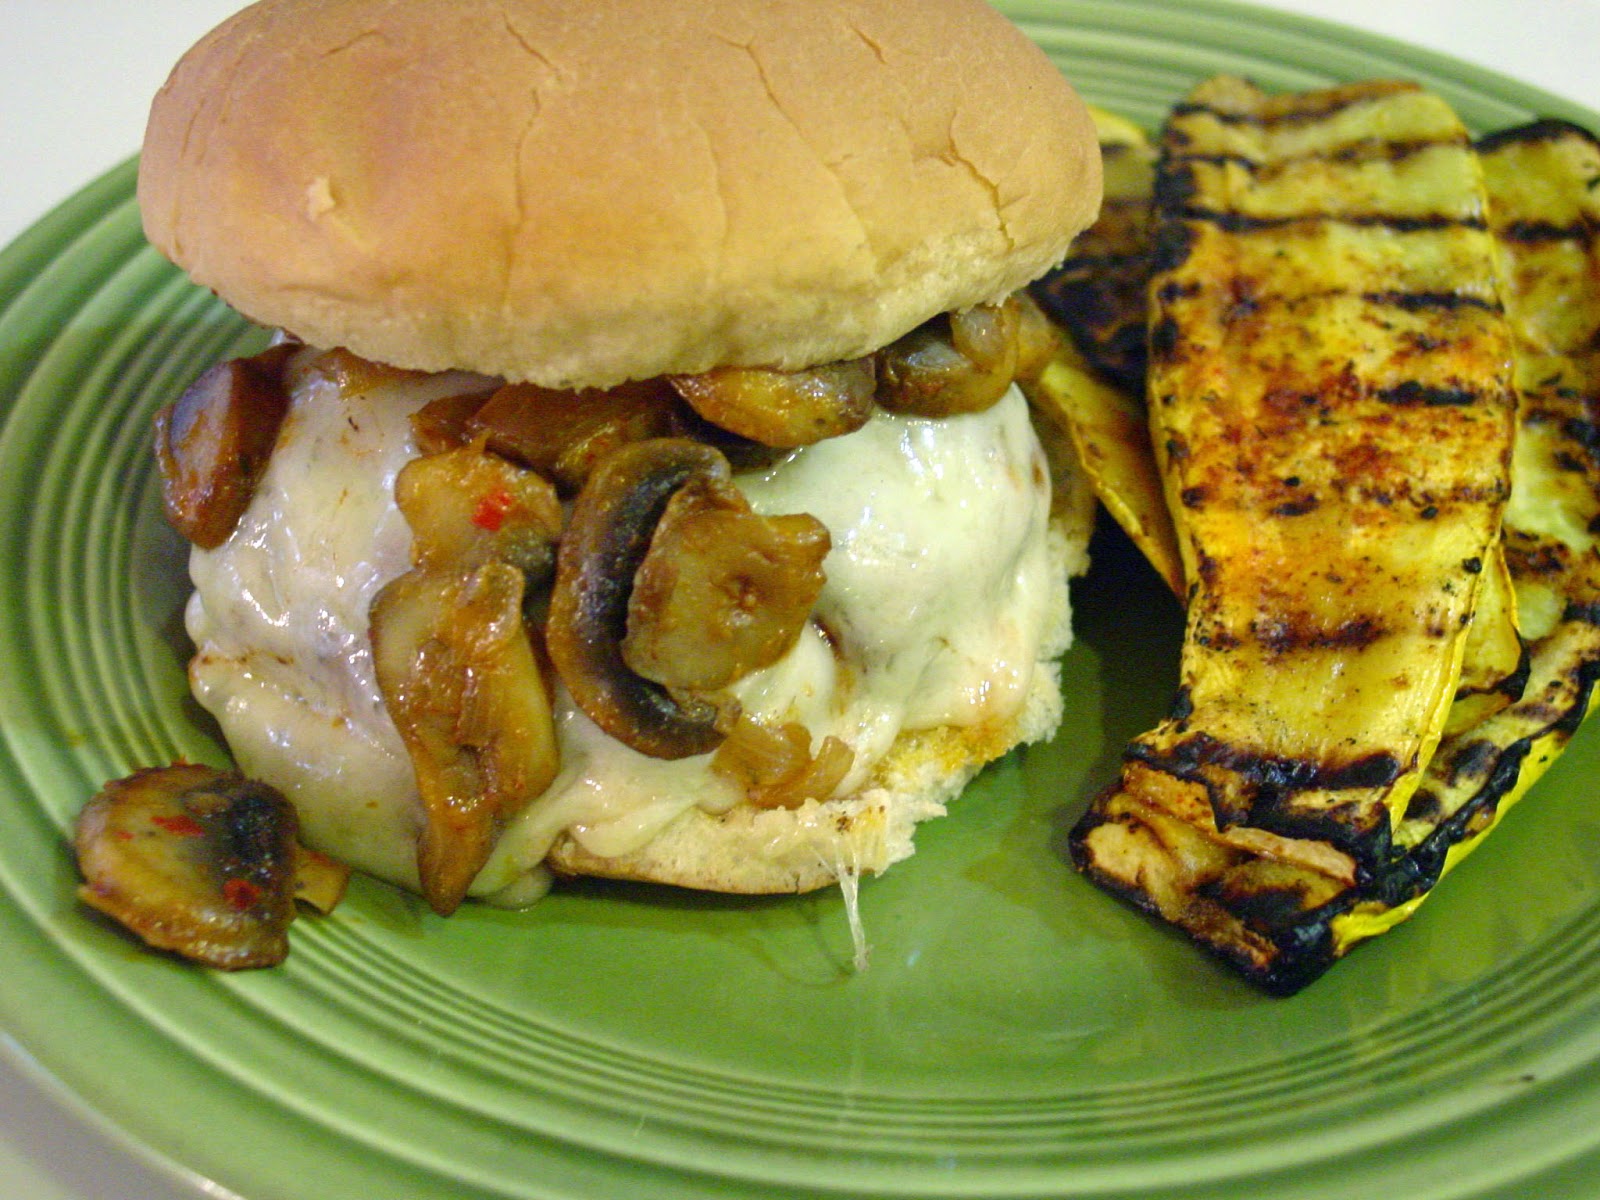
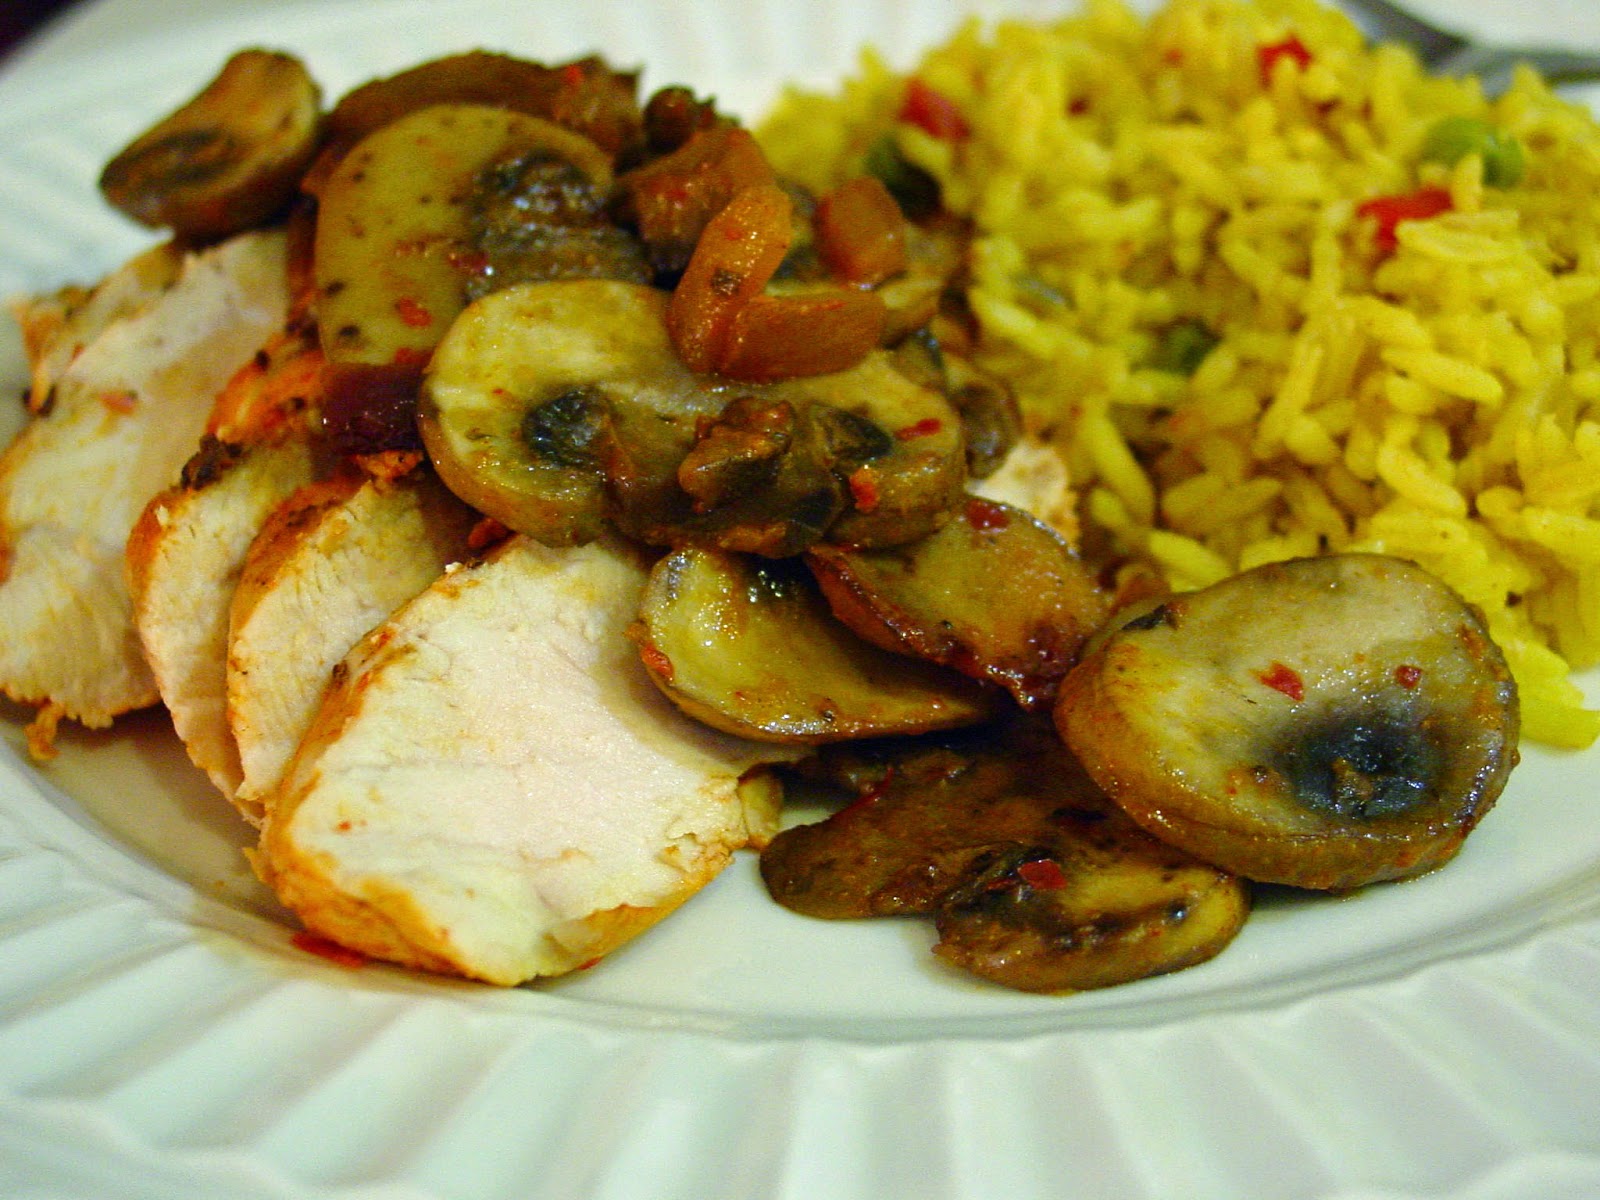
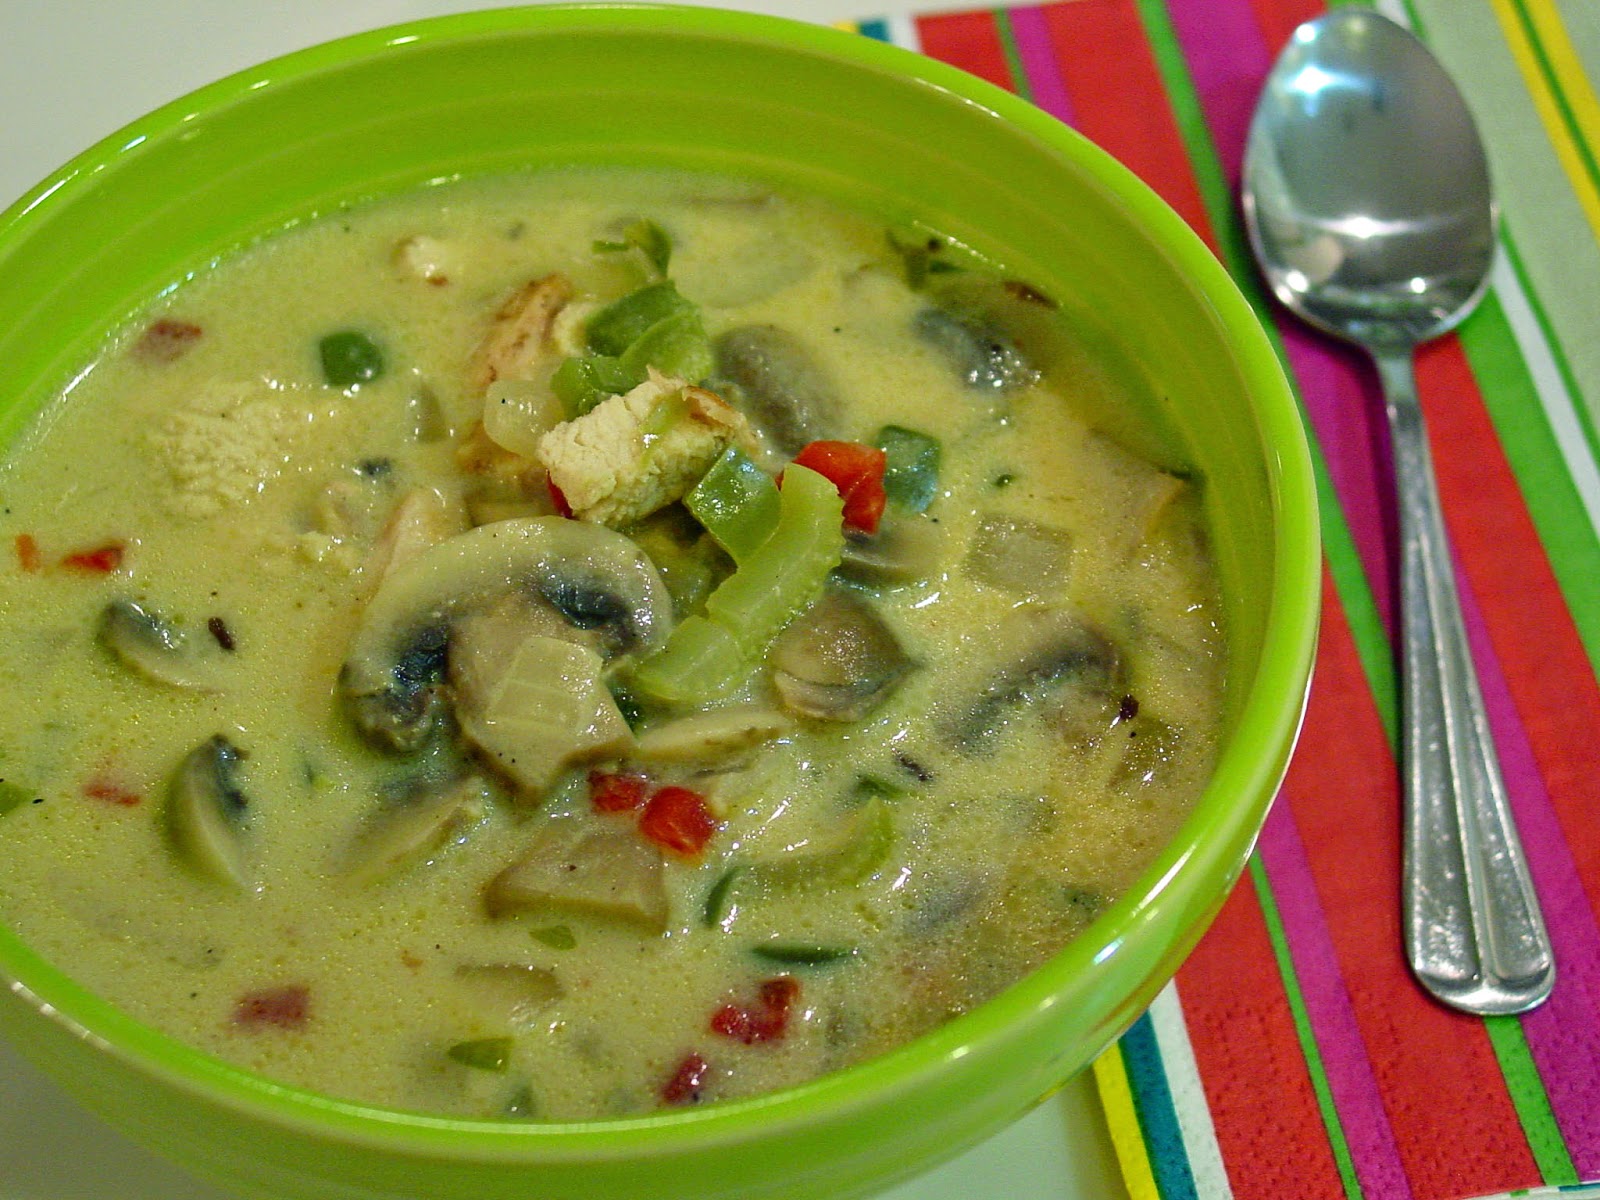
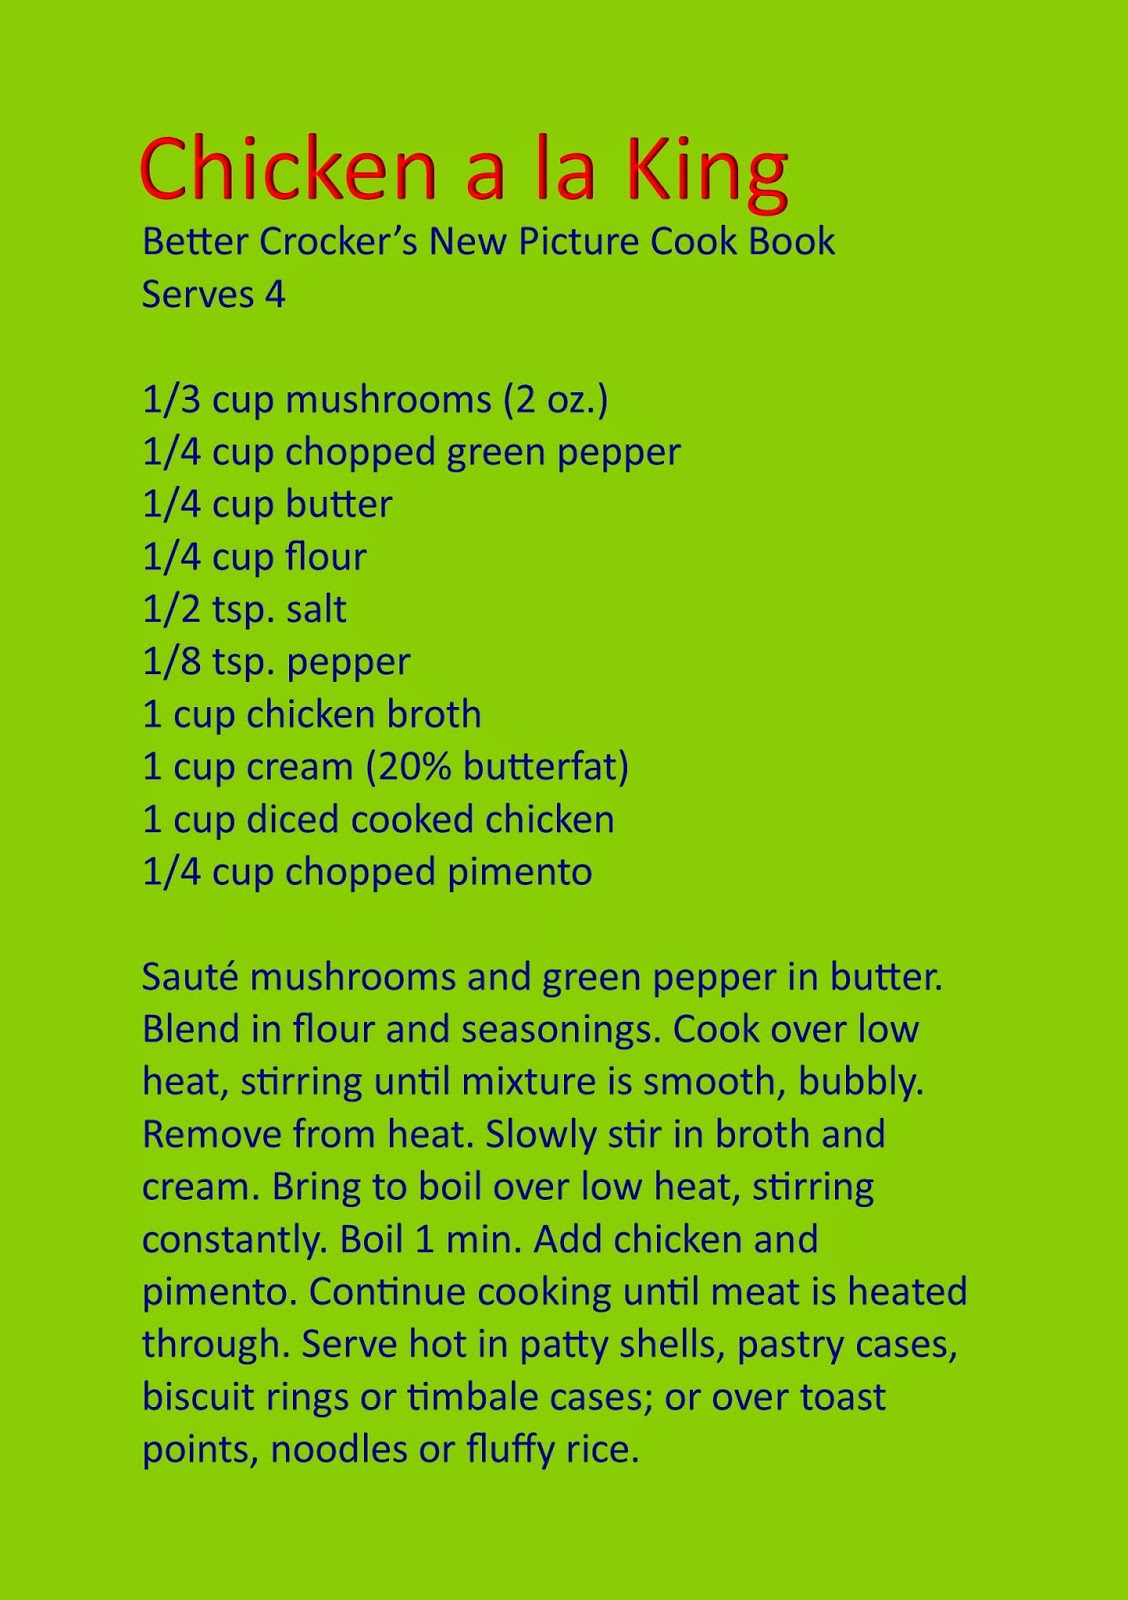
Growing up Mom only made Turkey a la King maybe 2 or 3 times. It was what she made with the leftover turkey from Thanksgiving. See we always spent the holiday in south Louisiana except for the 2 or 3 times we had to say home in the north. Usually is was because one of us was sick. I remember the dish fondly. It was something different and deliciously creamy. I hadn't thought about it in years. But one day I came across a video on YouTube from Linda's Pantry. She was canning a Chicken a la King Soup. It looked amazing! So it prompted me to ask Mom for her recipe. It turns out it was a Betty Crocker recipe from one of her really old cookbooks. Now armed with her recipe I set out to make my own Chicken a la King Soup. Now this soup is not light. I think the butter and half and half are important flavors in this dish. I tried using a combination olive oil and butter, but it did not have that iconic "a la King" flavor. Another thing I discovered, this soup is even better made with poached chicken and the light broth reserved from the process. I made it with leftover grilled chicken and stock in a box, it was great but the other was so much better. The grill chicken and the dark chicken stock dominated the buttery flavors. So use a light chicken broth and delicately seasoned chicken to let those creamy, buttery ingredients shine. This is such a comforting silky bowl of chicken, veggies and broth. I love the mushrooms, peppers and pimentos. It definitely takes me back to childhood. This one is dear sister and Mom approved too. I hope you enjoy it as much as we did.
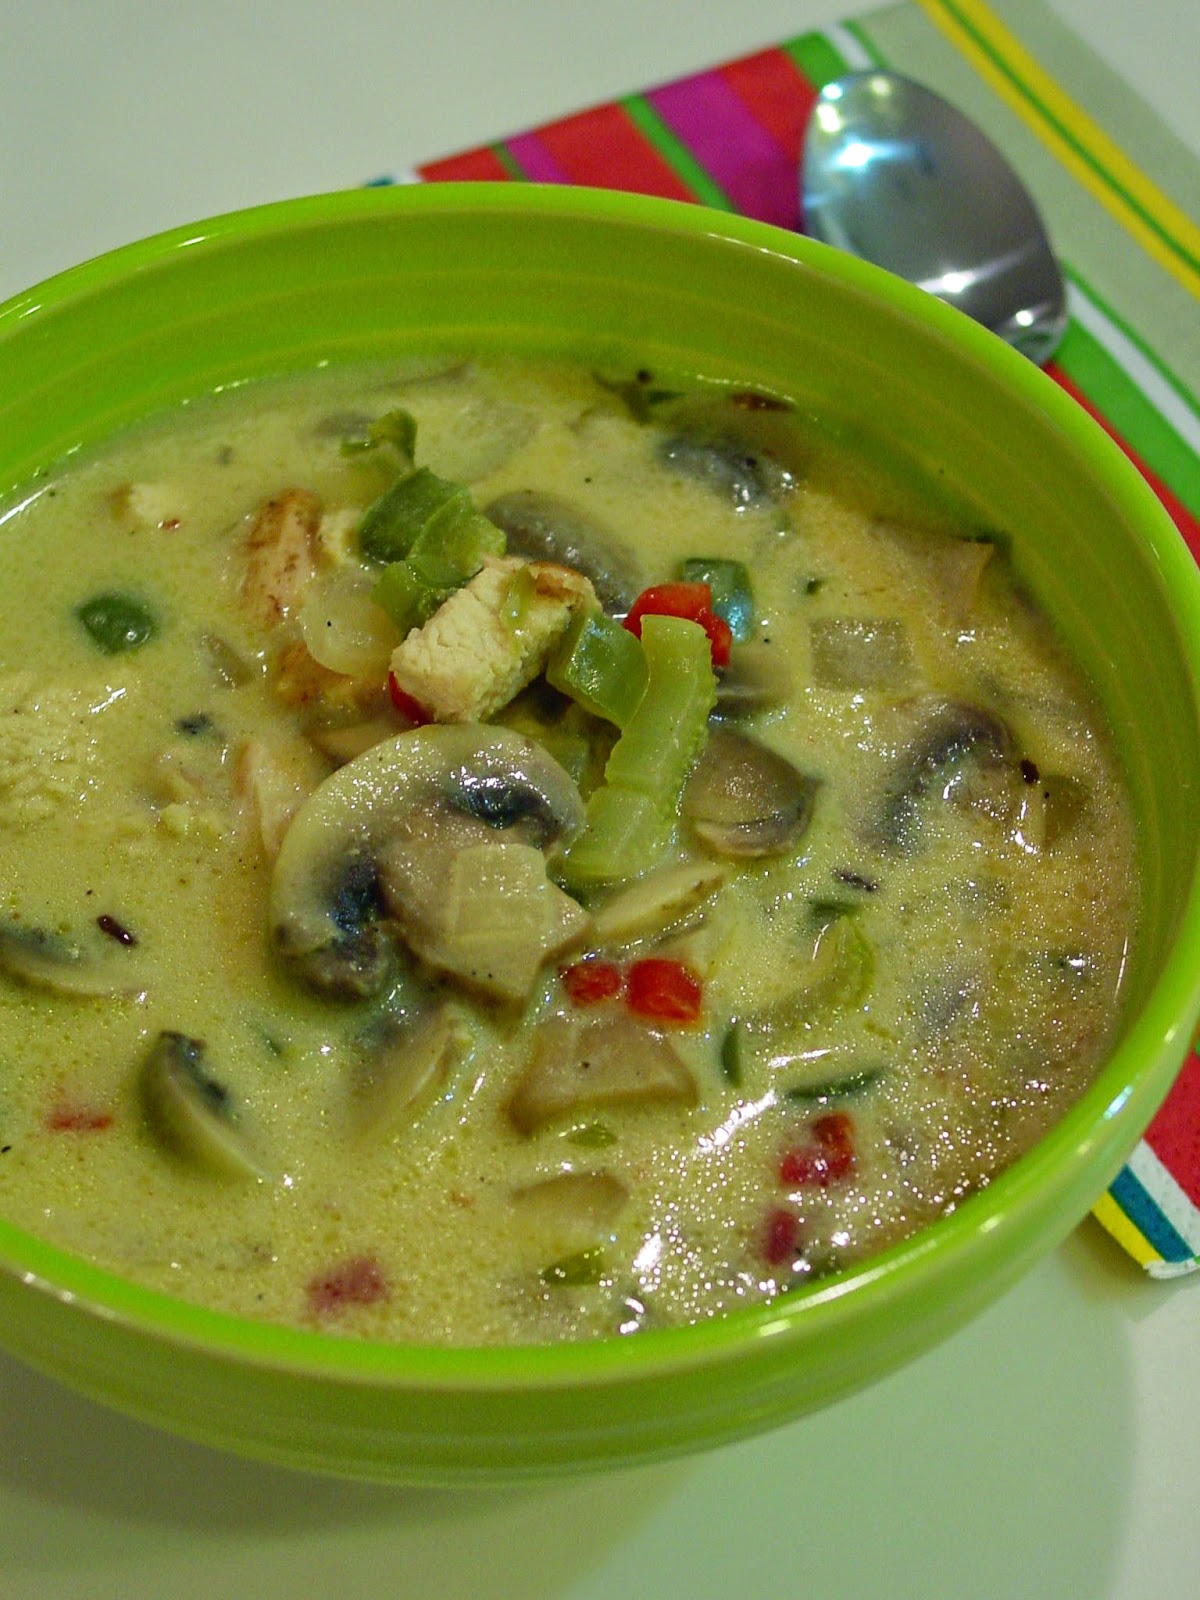
Chicken a la King Soup
Serves 6
Ingredients
3 Tbsp. unsalted butter
1 yellow onion, chopped
1 rib celery, sliced
1/2 green bell pepper, chopped
8 oz. mushrooms, sliced
3 Tbsp. flour
4 cups low sodium chicken broth
4 oz. jar pimentos, undrained
2 cups cooked chicken breast, cubed
1 cup half and half
Kosher salt, to taste
Black pepper, to taste
Red pepper flakes, to taste
Directions
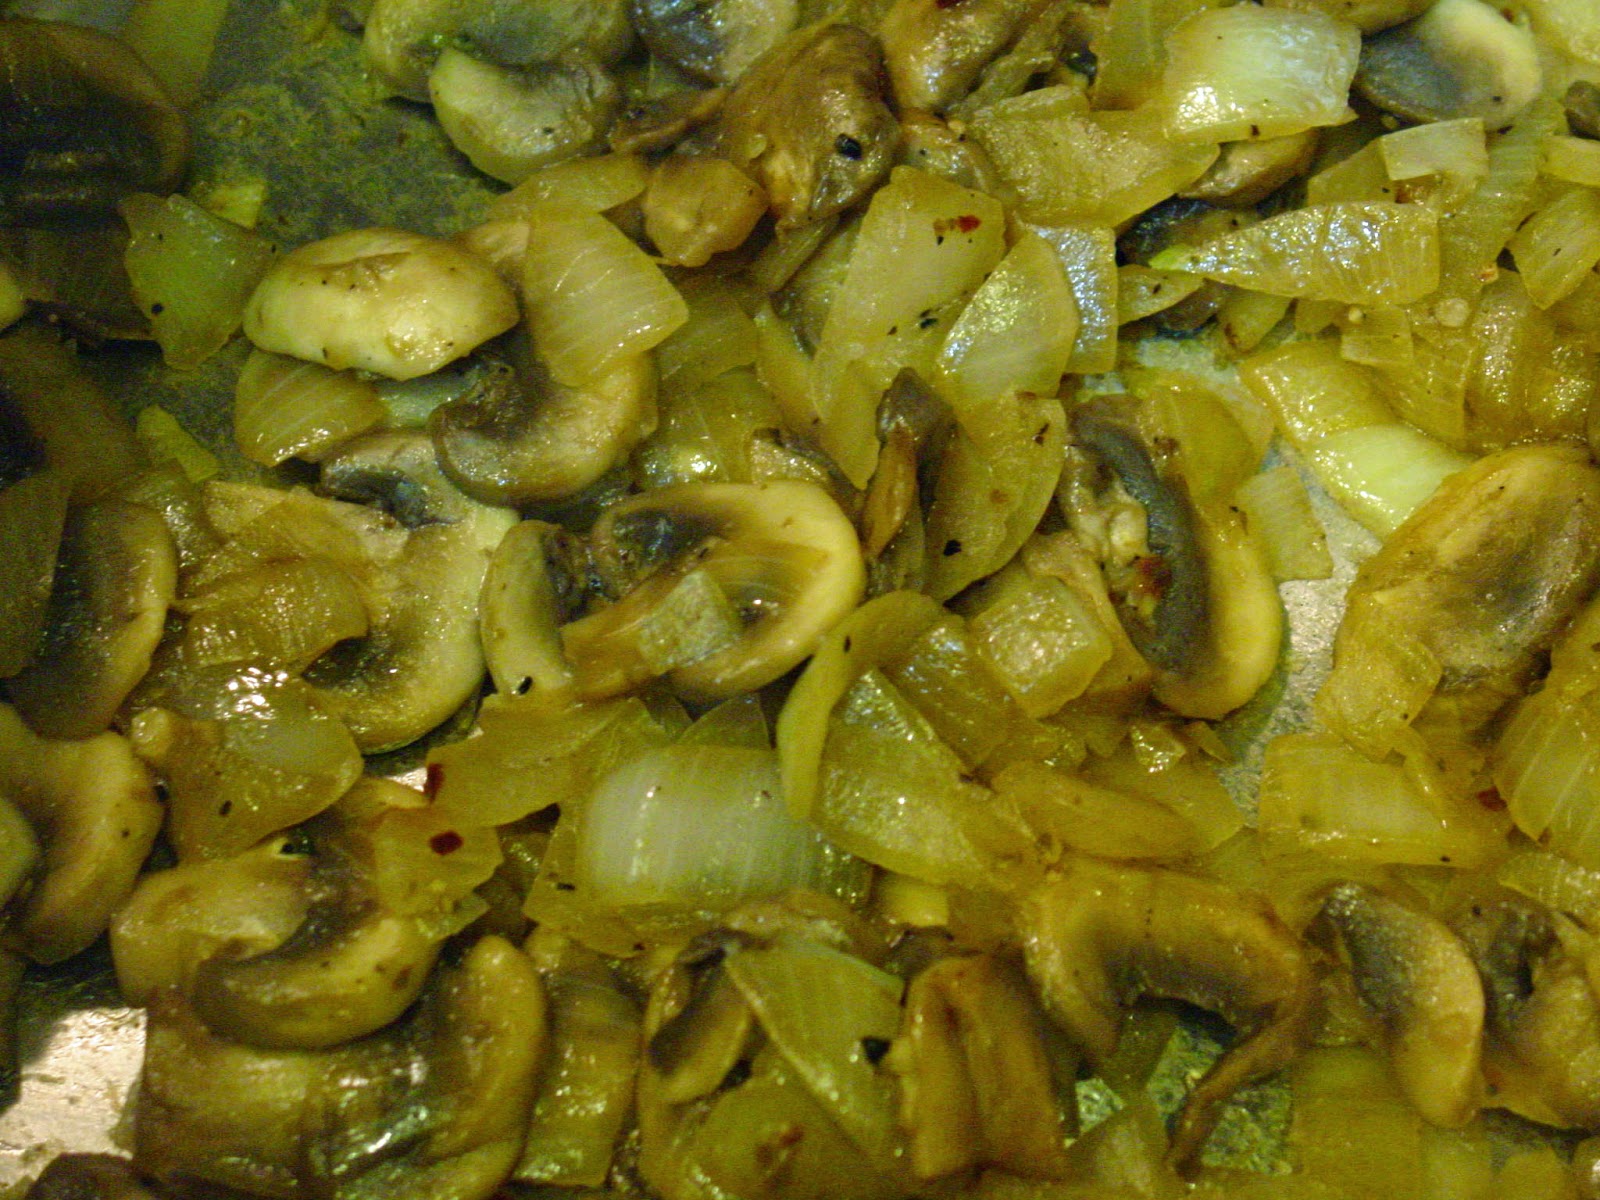
Melt butter in a stock pot over medium heat. Add onion, celery and bell pepper sauté until onion is translucent. Add mushrooms and season with salt, black pepper and red pepper flakes. When mushrooms begin to soften add flour, stir until well combined and you do not smell flour. Slowly add broth stirring to pick up any browned flour from bottom of the pot. Add pimentos and chicken, bring to a simmer. Add half and half reduce heat to low. Cook on low for 10 minutes to blend flavors. Taste for seasoning, adjust if necessary and serve!

Bonus Recipe
Linking to:
Love Bakes Good Cakes: The Ultimate Soup Recipe List Linky
Joy Love Food: What's You Do This Weekend?
Creative K Kids: Bloggers Brags Weekly Pinterest Party
Memories By The Mile: Treasure Box Tuesday
Kneaded Creations: Tuesdays With a Twist
Dizzy Busy & Hungry: Wine'd Down Wednesday
Carole's Chatter: Food on Friday - Soup
Creative K Kids: Bloggers Brags Weekly Pinterest Party
Memories By The Mile: Treasure Box Tuesday
Kneaded Creations: Tuesdays With a Twist
Dizzy Busy & Hungry: Wine'd Down Wednesday
Carole's Chatter: Food on Friday - Soup